
Azure CI
This page documents how to use Stack on Azure CI.
Quick Start
Note that you have to create azure pipelines for your project and then you need to put the relevant configuration files:
- For simple Azure configuration, copy-paste the
azure-simple
file into
azure-pipelines.yml. - For complex Azure configuration, you need to take the below linked
four files and put all of them into the
.azuredirectory.
For a more detailed explanation, you can read further.
Simple and Complex configuration
We provide two fully baked configuration ready to be used on your projects:
- The simple Azure configuration
is intended for applications that do not require multiple GHC
support or cross-platform support. It builds and tests your project
with just the settings present in your
stack.yamlfile. - The complex Azure configuration is intended for projects that need to support multiple GHC versions and multiple OSes, such as open source libraries to be released to Hackage. It tests against Stack for different resolves on Linux, macOS and Windows. These are the files for the complex configuration:
- azure-pipelines.yml : This is the starter file used by the Azure CI.
- azure-linux-template.yml : Template for Azure Linux build
- azure-osx-template.yml : Template for Azure macOS build
- azure-windows-template.yml : Template for Azure Windows build
NOTE: It is likely going to be necessary to modify this configuration to
match the needs of your project, such as tweaking the build matrix to alter
which GHC versions you test against, or to specify GHC-version-specific
stack.yaml files if necessary. Don't be surprised if it doesn't work the
first time around. See the multiple GHC section below for more information.
Creating Azure Pipelines
Each of these configurations is ready to be used immediately. But before we go into where to put them, we have to create pipeline for your project in Azure CI platform:
- Go to dev.azure.com. You have to initially sign-in to your microsoft account there.
- Once you have logged in to your Microsoft account, you have to sign in to Azure devops from there.
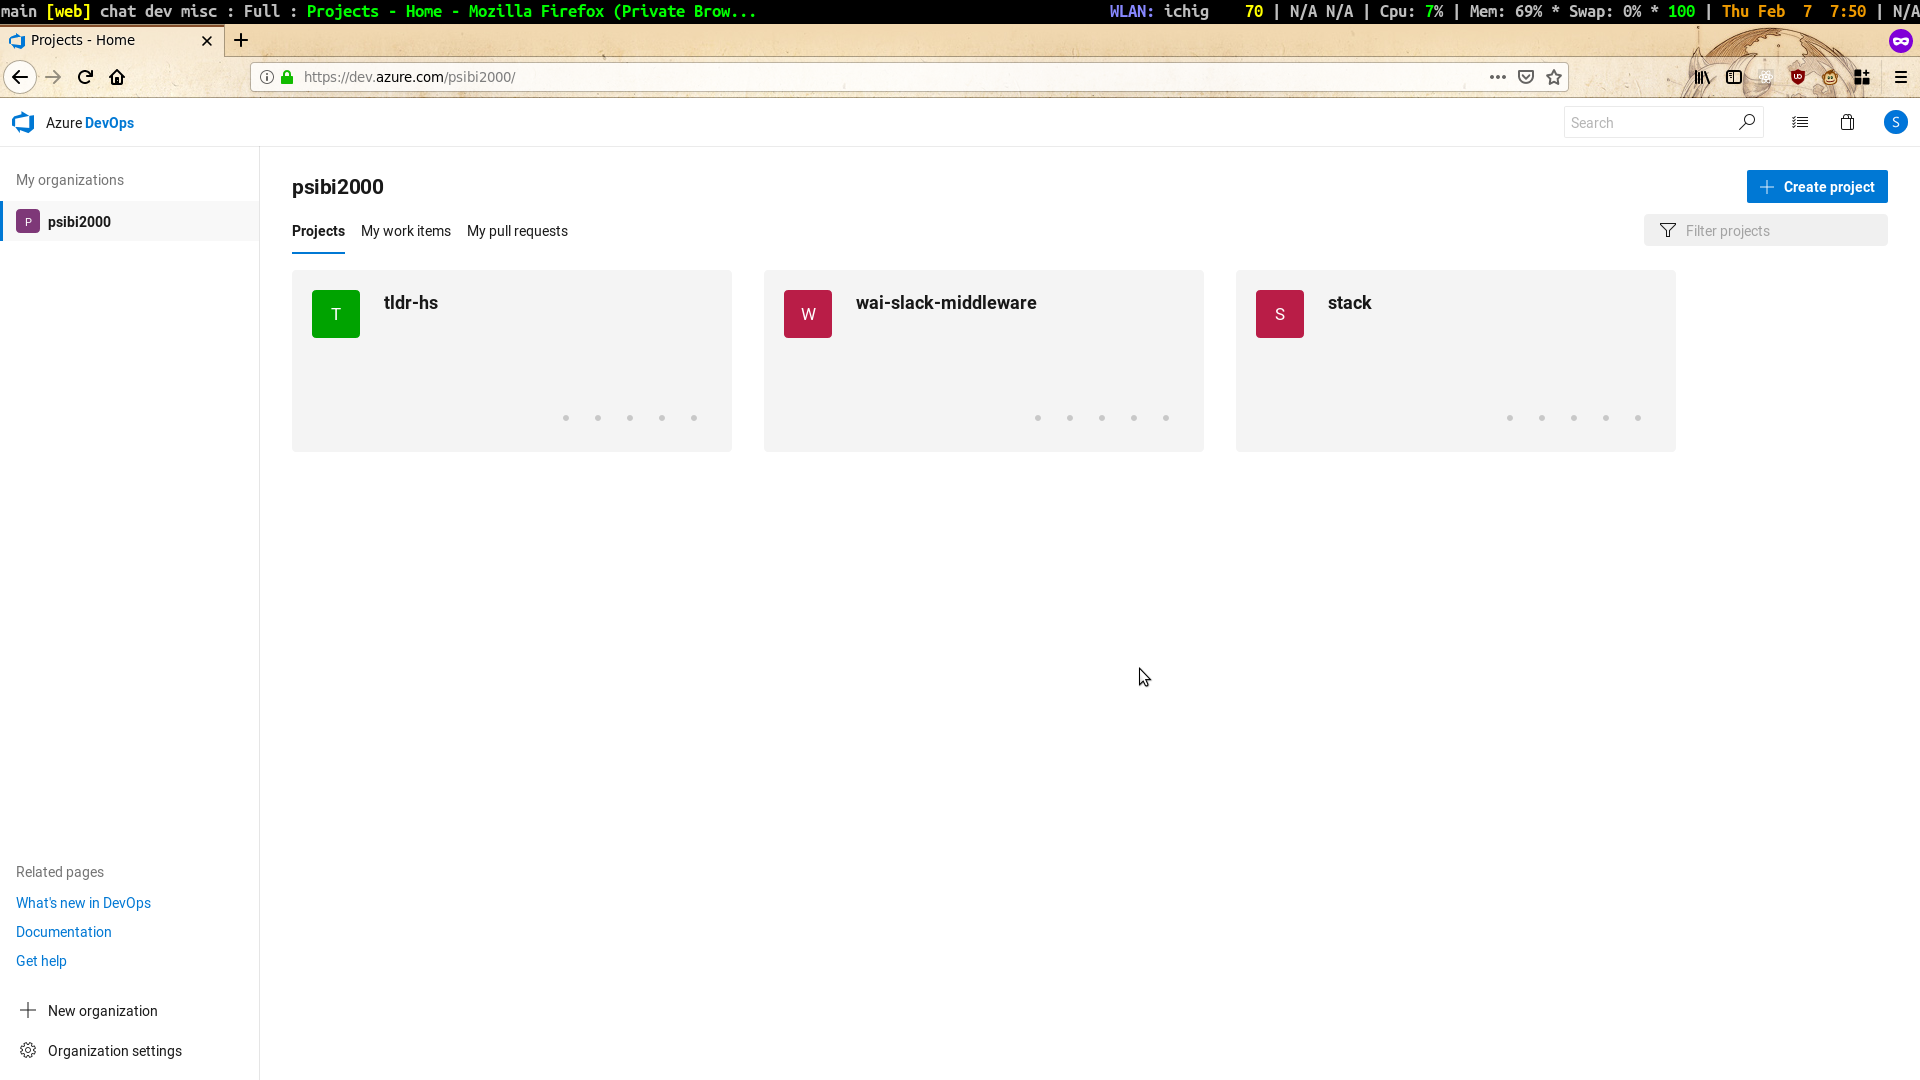
- You will be greeted with a dashboard where you can create your projects.
- Click the "Create Project" button and fill the relevant information in the dialog and then click the "Create" button.
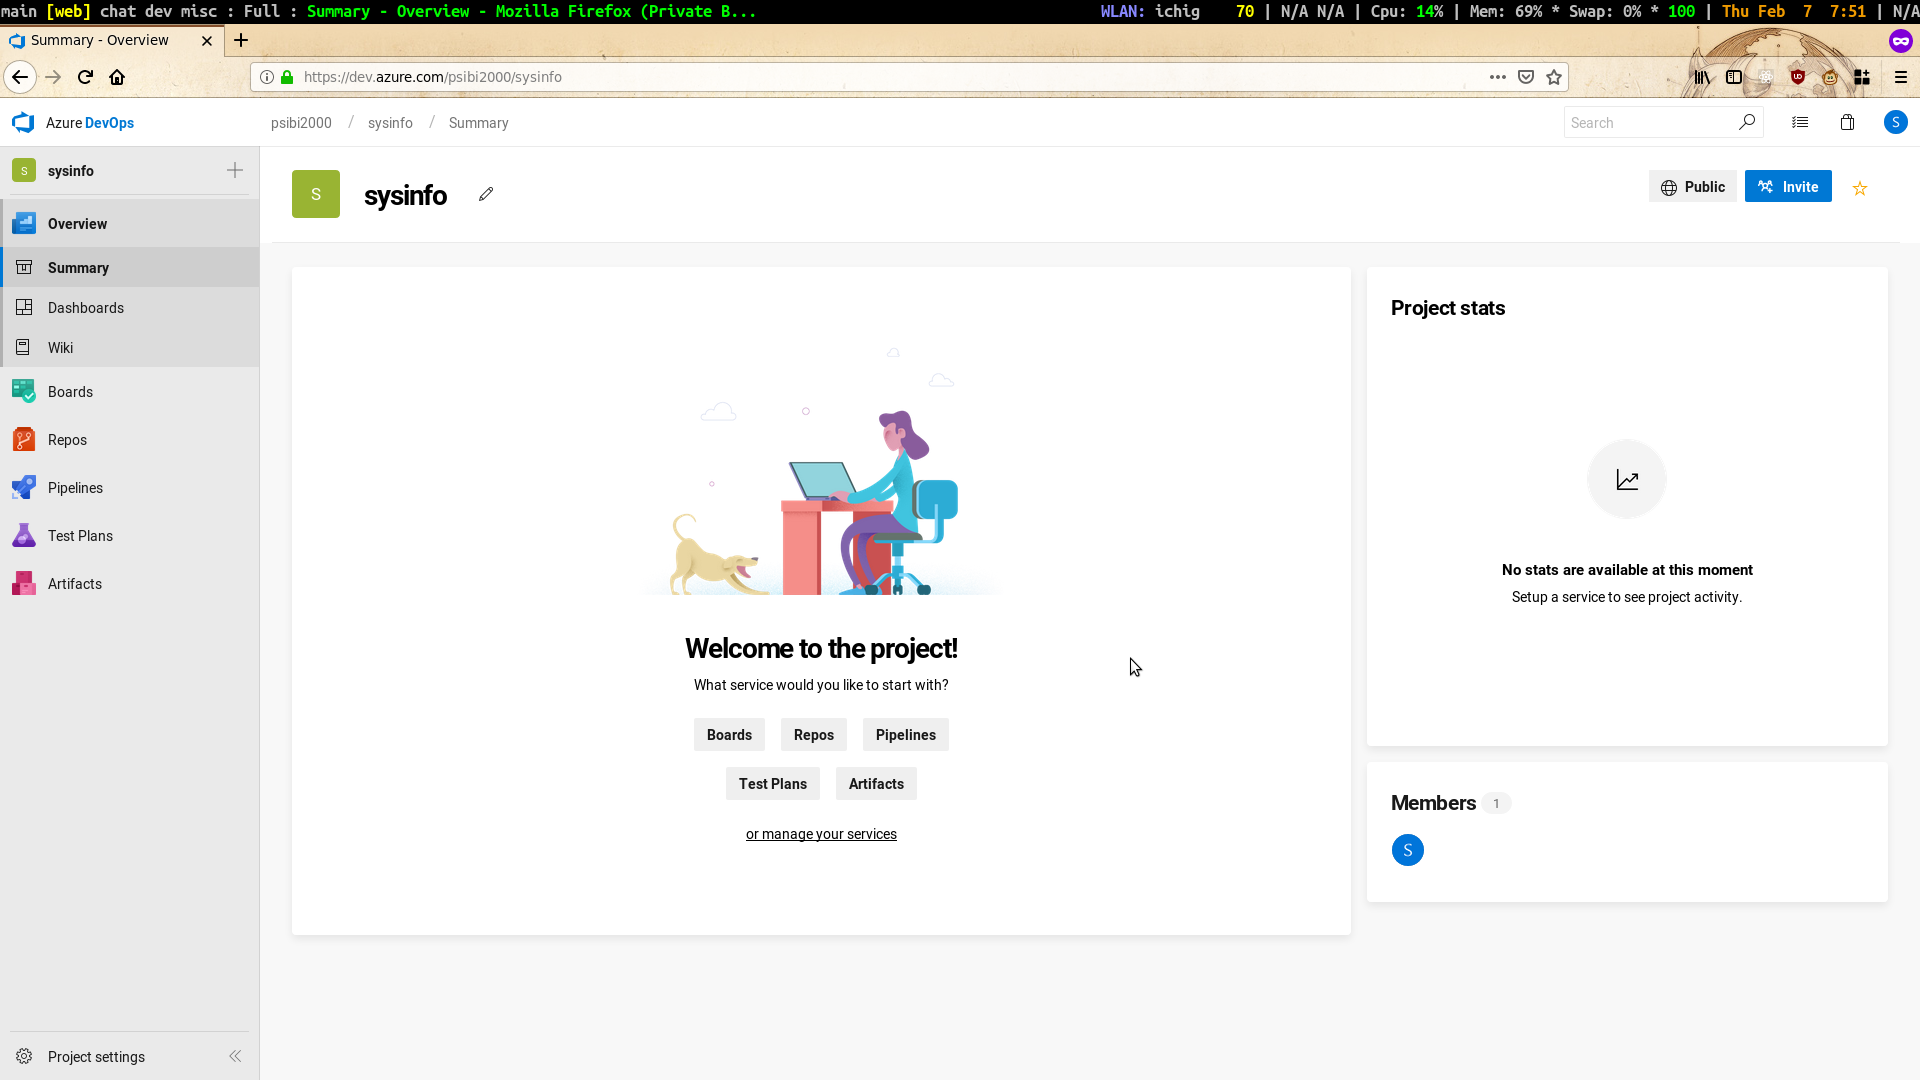
- This will lead you to the project dashboard page where you can create pipelines.
- Click on "Pipelines" in the left menu. This will load the pipelines page on the right.
- Click on the button "New Pipeline" and you have to follow through
the wizard there. You need to choose your github repository (or
Azure repos) and follow the wizard. Note that in the Configure
step
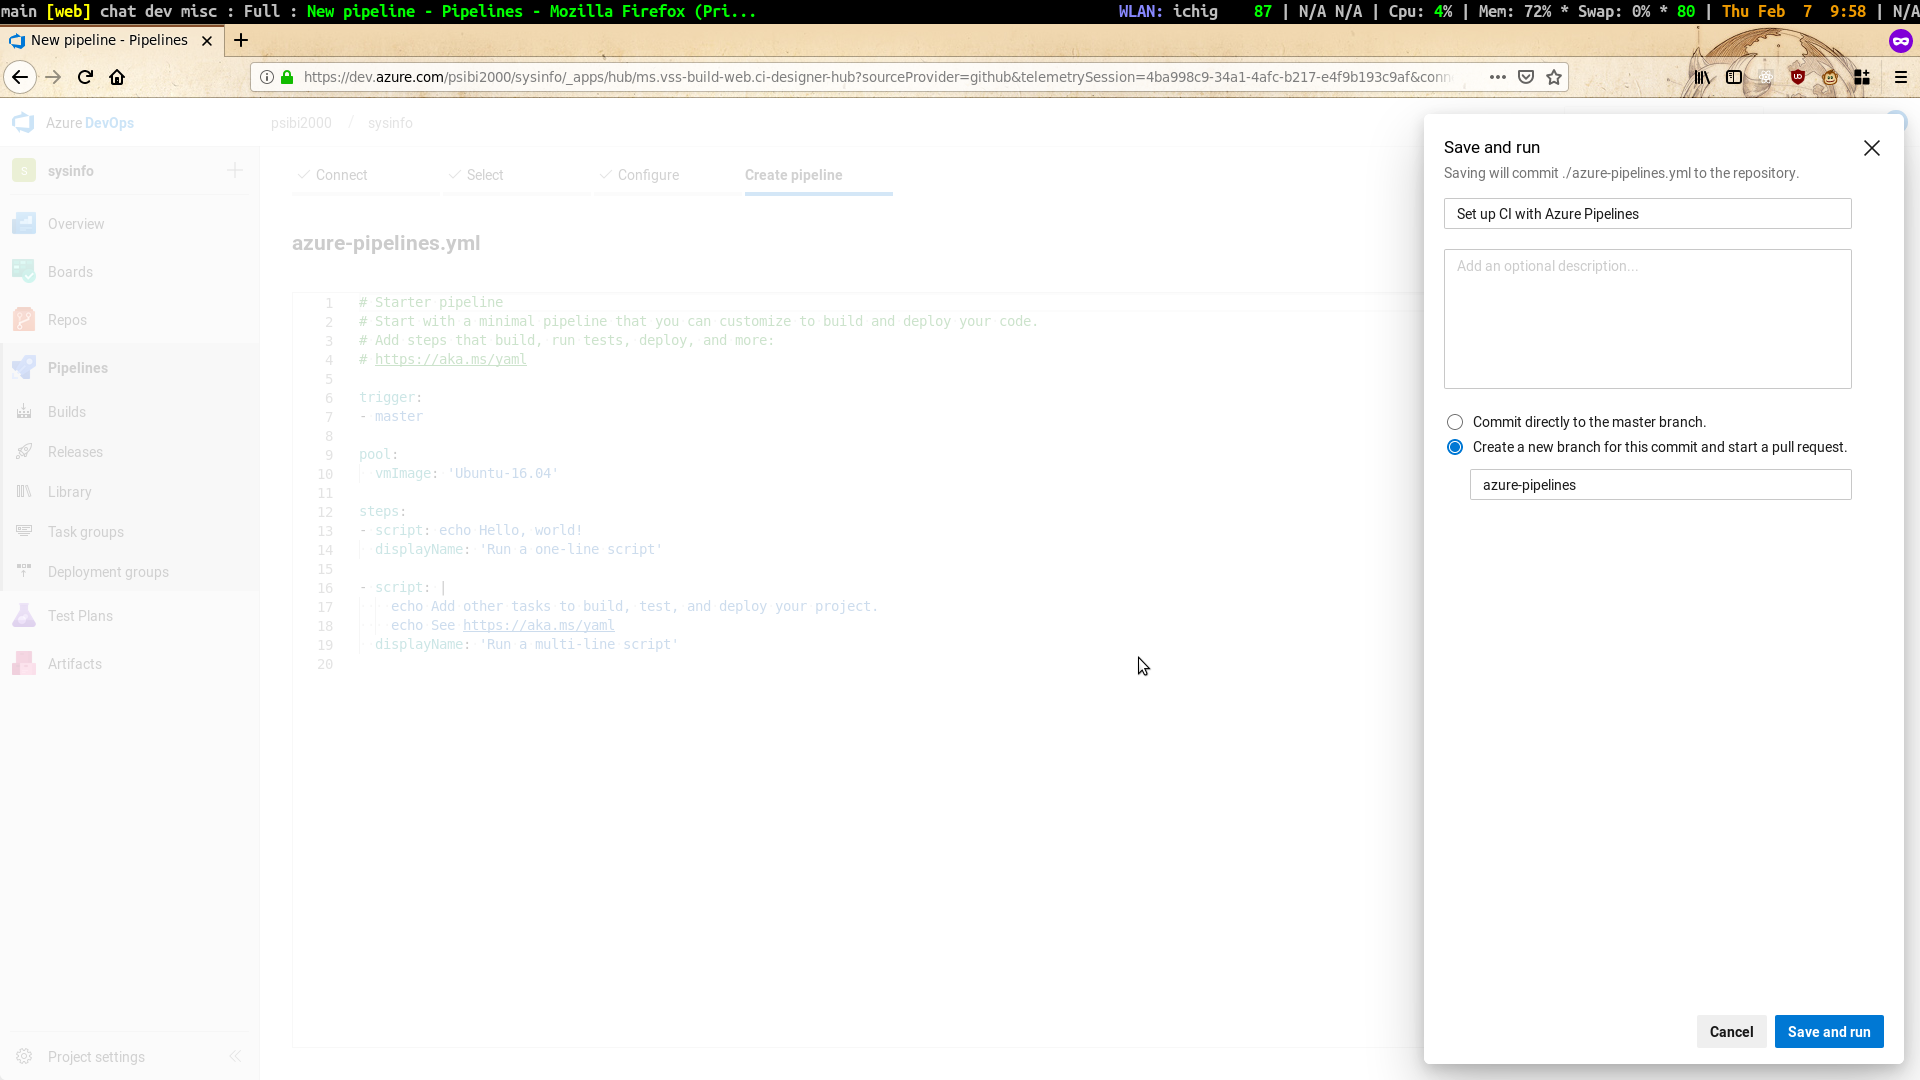
you have to select the "Starter Pipeline". This will open up an
editor
window. You
can leave the existing yaml configuration there as it is and click
the "Save and run" button. That will popup a
dialog. Select
the relevant option and click "Save and run" button. (Note that this
step would have created
azure-pipelines.ymlin your repository, you have replace that with the appropriate configuration file.)
The rest of this document explains the details of common Azure configurations for those of you who want to tweak the above configuration files or write your own.
Note: both Azure and Stack infrastructures are actively developed. We try to document best practices at the moment.
Infrastructure
Note that you need at least one agent to build your code. You can specify which virtual image you want to choose using this configuration:
pool:
  vmImage: ubuntu-latest
The other popular options are macOS-latest, windows-latest for Mac
and Windows respectively. You can find the complete
list
here. You also have the option to select a specific supported ubuntu
version like ubuntu-18.08.
Installing Stack
Currently there is only one reasonable way to install Stack: fetch precompiled binary from the Github.
- script: |
    mkdir -p ~/.local/bin
    curl -L https://get.haskellstack.org/stable/linux-x86_64.tar.gz | tar xz --wildcards --strip-components=1 -C ~/.local/bin '*/stack'
  displayName: Install Stack
Installing GHC
There are two ways to install GHC:
- Let Stack download GHC
- Install GHC using apt package manger. This method is only applicable for Debian based images.
But we only use the first method of using Stack to download GHC.
Multiple GHC - parametrised builds
For different GHC versions, you probably want to use different
stack.yaml files. If you don't want to put a specific stack.yaml
for a particular resolver and still want to test it, you have specify
your resolver argument in ARGS environment variable (you will see an
example below).
strategy:
  matrix:
    GHC 8.0:
      ARGS: "--resolver lts-9"
    GHC 8.2:
      ARGS: "--resolver lts-11"
    GHC 8.4:
      ARGS: "--resolver lts-12"
    GHC 8.6:
      ARGS: "--resolver lts-14"
    GHC 8.8:
      ARGS: "--resolver lts-15"
    nightly:
      ARGS: "--resolver nightly"
Running tests
After the environment setup, actual test running is simple:
stack $ARGS test --bench --no-run-benchmarks --haddock --no-haddock-deps
Other details
Some Stack commands will run for long time. To avoid timeouts, use the timeoutInMinutes for jobs.